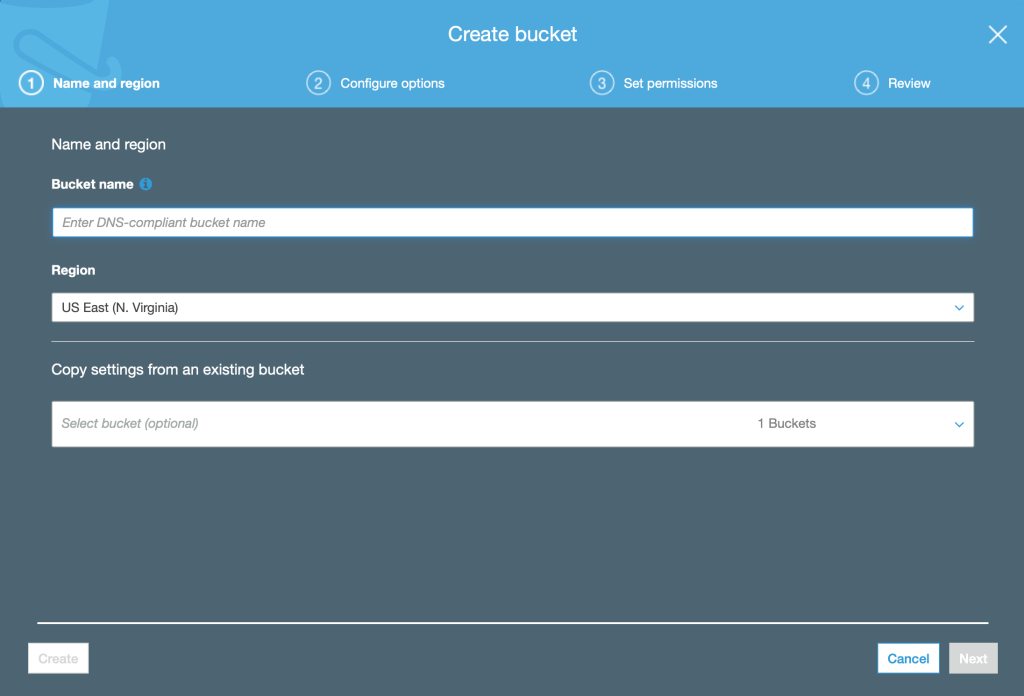
- Create a bucket
- (Sign in to console) Sign in to the AWS Management Console and open the Amazon S3 console at https://console.aws.amazon.com/s3/.
- Choose Create Bucket
- In Bucket name, enter a DNS-compliant name for your bucket.
- In Region, choose the AWS Region where you want the bucket to reside.
- In Bucket settings for Block Public Access, keep the values set to the defaults. They will be private for now. We will change them to public later.
- Choose Create bucket.
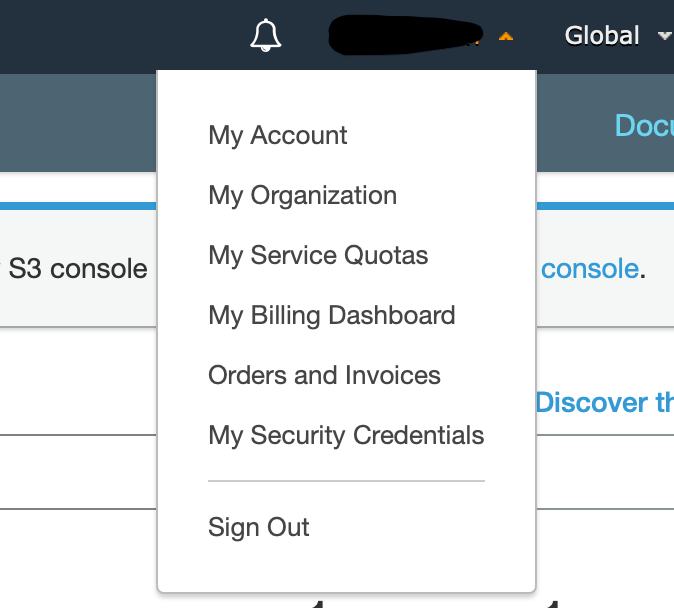
2. Get security credentials

3. Install dependencies to Node project
npm i --save aws-sdk multer multer-s3
4. Set up the file upload middleware with multer and AWS-SDK
const aws = require('aws-sdk');
const multer = require('multer');
const multerS3 = require('multer-s3');

const config = require('../config');

aws.config.update({
   secretAccessKey: config.get('AWS_SECRET_ACCESS'),
   accessKeyId: config.get('AWS_ACCESS_KEY'),
   region: 'us-east-1'
});

const s3 = new aws.S3();

const upload = multer({
   storage: multerS3({
      s3,
      bucket: 'bucket-name',
      acl: 'public-read',
      key: function (req, file, cb) {
         cb(null, Date.now().toString())
      }
   })
}).single('photo');

module.exports = upload;
In the upload middleware, we define a key value. This key serves essentially as the image’s name in AWS, differentiating images in the list in the AWS Console. We are setting the key to the date at which the image is saved.
5. Set up route to handle image requests
router.post('/image-upload', function(req, res) {
   upload(req, res, (err) => {
      if (err) {
         return res.status(422).send({errors: [{title: 'File Upload Error', detail: err.message}] });
      }

      return res.json({'imageUrl': req.file.location});
   });
});
6. Set permissions to public


7. Send request in Postman to test it
8. Check the AWS S3 console to see if a new entry is there

The Date string that we set as the key value is in the Name field.
