Redis is an in-memory key-value database. You can think of it like one giant JSON object. It is unique from other databases in that it stores all data in working memory (RAM) instead of on your system’s hard disk. This allows Redis to be extremely fast at fetching data.
Although Redis can be used as a full database, it is typically used for caching, which is when data that is frequently accessed or takes a long time to compute is stored in working memory for easy access.
Setting up Redis in Node.js project
You can use the node-redis library to interact with Redis in your Node.js application. In this tutorial, you will learn how to establish a connection between Node.js and Redis.
The following steps:
- Create a new Node.js project
- Install Redis client in Node project
- Create a new Redis object in your server file
- Start the connection
- Run Redis & your Node project
Step 1: Create new Node.js project
Create a blank Node.js project with npm init
npm init -y
Step 2: Install Redis client
To use Redis with Node.js, you need to install a Node.js Redis client. Inside the project directory, install the node-redis client by running this command:
npm install redis
Step 3: Create a new Redis object
Once you’ve installed the redis module, you can access Redis in your Node application. The redis module’s createClient() method creates a Redis object:
const redis = require('redis')
const client = redis.createClient()
The Redis object will default to use 127.0.0.1 as the hostname and 6379 as the port.
To connect to a different host or port, use a connection string in the format redis[s]://[[username][:password]@][host][:port][/db-number] like so:
redis.createClient({
  url: 'redis://alice:foobared@awesome.redis.server:6380'
});
Step 4: Start the connection
Now, use the Redis object’s connect() function to start the connection with Redis on the default port 6379. Since the function returns a Promise, we must use async/await to handle it. We can use an anonymous self-invoking function which will run immediately after we define it:
(async () => {
  await client.connect();
});
You also call the Node.js on() method that registers events on the Redis object. For example, the following line checks for an error event and triggers a callback which logs the error:
(async () => {
  client.on("error", (err) => console.log("Redis Client Error", err));

  await client.connect();
});
Step 5: Run Redis & your Node project
Before you run your Node project, make sure you are running the Redis database in a seperate Terminal.
You can run the Redis database with the following command:
redis-server
You should see an output similar to this in your console when you run the command:
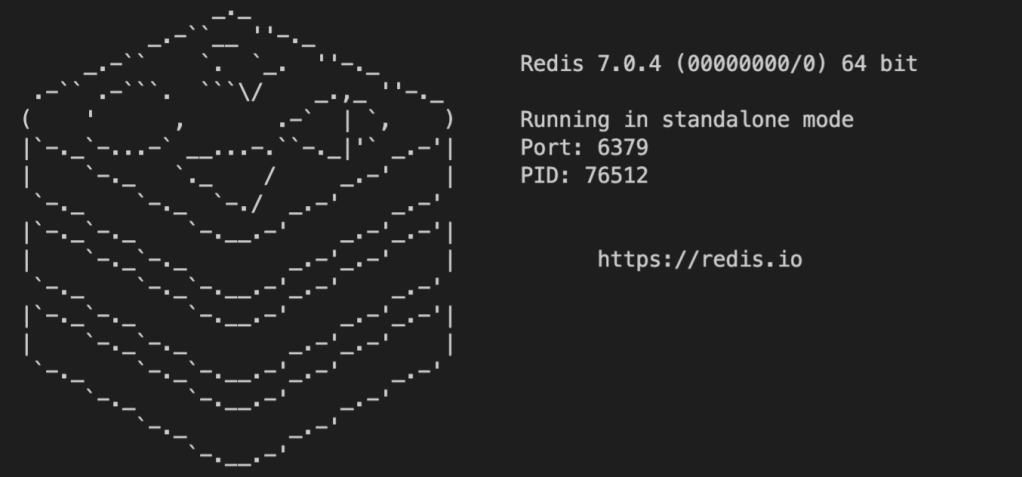
Now, you can run your Node project with node index.js. Although there won’t be any Terminal output (unless there is an error), you are now able to use Redis in your project.