When I tried to run this command: python manage.py createsuperuser in my Django project, it gave me a super long error which included the following:
File “manage.py”, line 22, in main() File “manage.py”, line 18, in main execute_from_command_line(sys.argv) File “/Users/username/.local/share/virtualenvs/django-learn-csZU2bYZ/lib/python3.8/site-packages/django/core/management/init.py”, line 364, in execute_from_command_line utility.execute()
….
ImportError: cannot import name ‘path’ from ‘django.urls’ (/Users/username/.local/share/virtualenvs/django-learn-csZU2bYZ/lib/python3.8/site-packages/django/urls/init.py)
Solution
The problem in my case was that I had the wrong version of Django installed. In order to run the python manage.py createsuperuser command you need at least Django 2.
Run this command to check the version of Django you are currently working with:
python -m django --version
Run this command to install the latest version of Django.
pip install --upgrade django
Run the python -m django --version command again and make sure your new Django version is 2.x or above. If so, you should be able to run python manage.py createsuperuser now
Django is a high-level Python web framework that enables rapid development of secure and maintainable websites. It is one of the most popular Python backend development frameworks. It is known for its security, simplicity, and reliability. It is without a doubt one of the best frameworks to learn.
Note: You must have Python 3 or later installed on your computer to complete this tutorial.
Create a new empty project. The first thing we need to do is install Django in our new project. You might be tempted to do it using the command pip install django, but I would advise against this because it installs the Django package on your global system rather than just in this specific project.
Instead, you should use a tool called pipenv, which allows you to set up a virtual environment for each Python project that you create on your system. Install it globally by running this command:
pip install pipenv
With pipenv installed, run this command in your project folder to create a virtual environment.
pipenv shell
Any packages we install, including Django, will be installed into this virtual environment rather than on our global system. This command will also generate a Pipfile in your project directory. This Pipfile will list any packages that you install in the virtual environment.
Run this command to install Django in the virtual environment
pipenv install django
In Django, a project is basically the overall website/application. Then, you have the concept of apps; there are usually multiple apps in each project.
Run this command to create a new project (put your project’s name in place of project-name):
django-admin startproject project-name
cd project-name
Inside your new project folder, you should see a second folder with the same project name and a manage.py file. You rarely change any of the code in the manage.py file, but you will use this file all the time. We use this file to run the server, create migrations, and carry out many other commands.
Once inside the project folder we just created, run this command to run the server on http: 127.0.0.1:8000 (port 8000):
python manage.py runserver
# ctrl+c to stop
To run the server on a different port
python manage.py runserver 8081
You will probably get the below error. The cause of the error is that there are migrations ready to create the default, necessary database tables that Django uses that have not been applied.
To apply them, we run this command:
python manage.py migrate
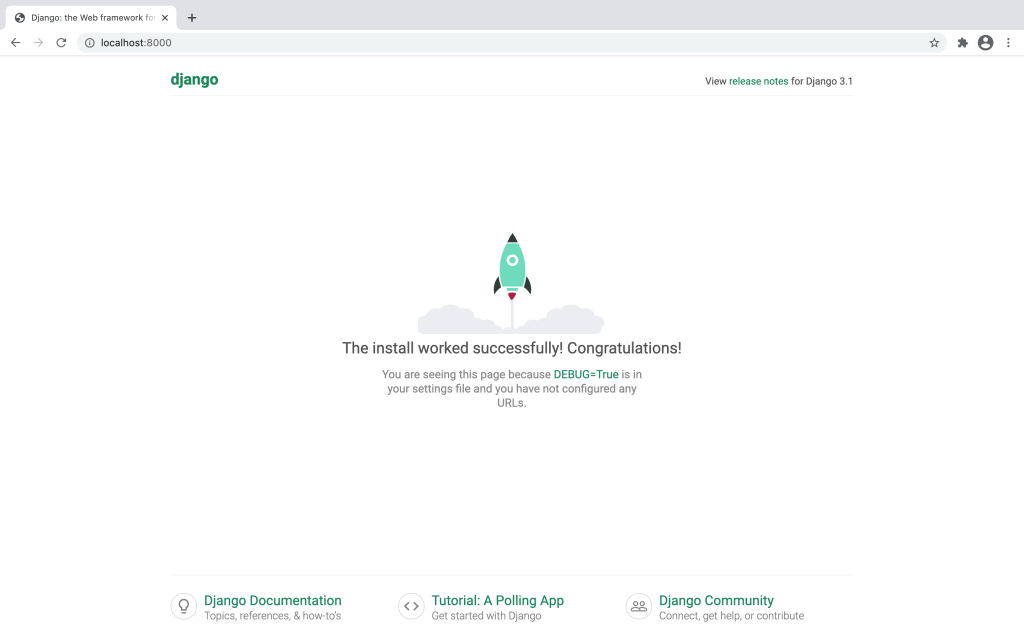
Now, your server should be up and running with no errors. If you type localhost:8000 (or whichever port your project is running on) in your browser, you should see this default Django page.
You’ve officially created your first Django project. The next step is to start adding apps to your project. Stay tuned for a tutorial on that.