Want to keep your Python code clean and consistent without thinking about it? You can automatically format your Python files every time you save them in Visual Studio Code using the Black formatter.
Here’s how to set it up:
🔌 Step 1: Install the Black Formatter
- Open VS Code.
- Go to the Extensions Marketplace (the square icon on the sidebar or use shortcut
Cmd+Shift+Xon macOS,Ctrl+Shift+Xon Windows). - Search for “Black Formatter” by Microsoft.
- Click Install.

⚙️ Step 2: Open VS Code Settings
You can access settings with:
- macOS:
Cmd + , - Windows:
Ctrl + ,
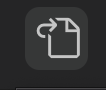
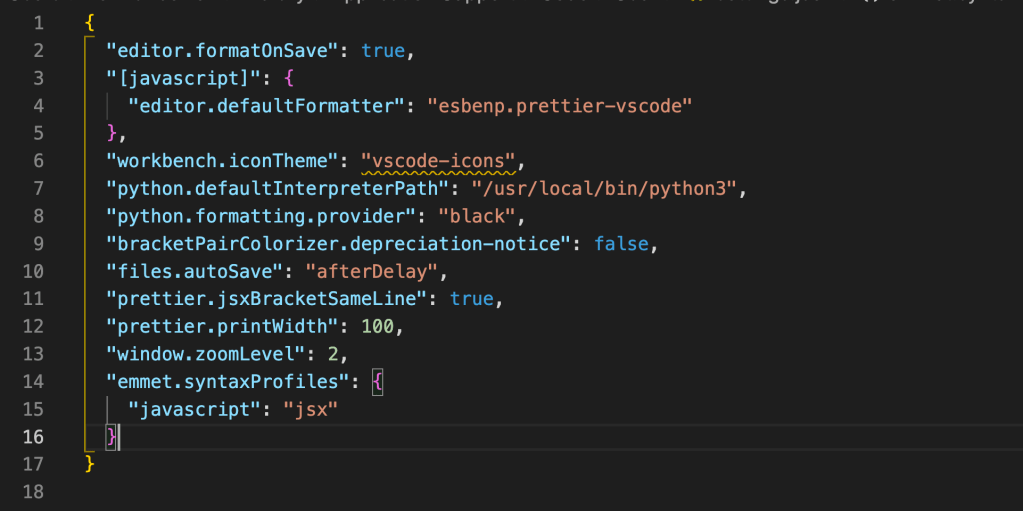
Then click the Open Settings (JSON) icon in the top right (looks like a page with {}) to open the settings.json file.
📝 Step 3: Add Python Format-on-Save Settings
Inside settings.json, add the following:
jsonCopyEdit"[python]": {
    "editor.formatOnSave": true,
    "editor.defaultFormatter": "ms-python.black-formatter"
}
Optional Formatting Settings
You can also include:
jsonCopyEdit"editor.tabSize": 4,
"editor.insertSpaces": true,
"editor.tabSize": 4ensures indentation uses 4 spaces per level (Python standard)."editor.insertSpaces": truereplaces tabs with spaces (again, best practice in Python).
🔄 Step 4: Restart VS Code
After saving your settings.json, you may need to close and reopen VS Code for changes to fully apply.
✅ That’s It!
Now, whenever you save a .py file in VS Code, Black will automatically format it based on its strict, opinionated style — helping you write cleaner, more consistent code effortlessly.