Step 1: Log into Heroku
Step 2: Create a New App
Create a new Heroku app by either clicking “Create a new app” in the center of the screen or “New” at the top right of the screen.
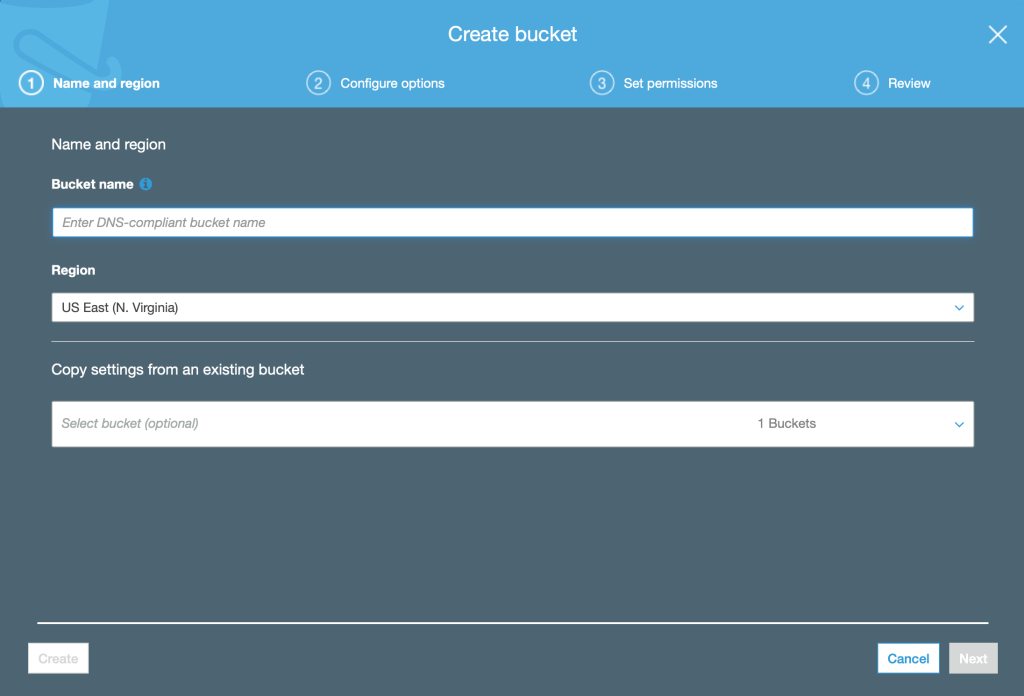
Choose an App Name and the Region (either the US or Europe) for your new app. The name can be anything you want. Then, just click the Create app button.
Step 3: Add a PostgreSQL Database
To attach a PostgreSQL database to the blank app you just made, you need to go to the Resources tab in the header of the new app’s dahsboard. Then type Heroku Postgres into the Add-ons search field. When shown, select the suggested Heroku Postgres add-on from the dropdown:

The next popup asks you to choose a pricing plan for the database. Select the Hobby Dev – Free plan and click Provision.
Now your PostgreSQL database is up !
Step 4: Get Heroku DB Information
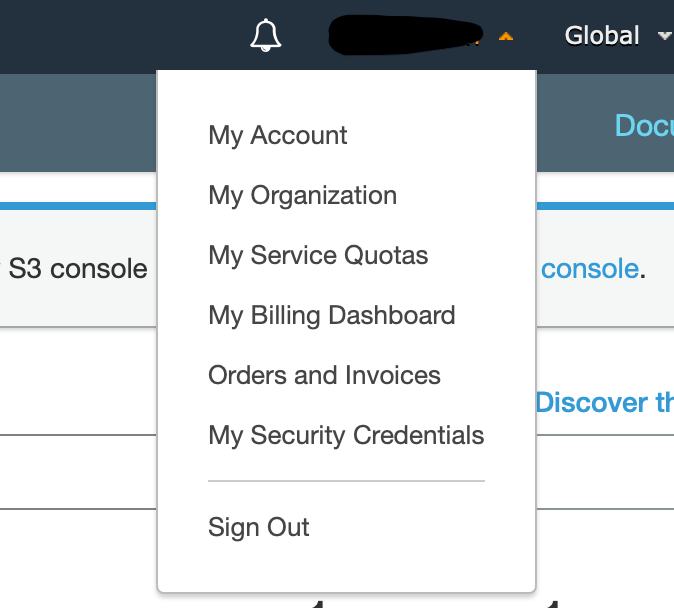
To find the credentials and the connection URL for the PostgreSQL database, make sure you’re still in the Resources tab and click on the Heroku Postgres resource we just added.
That should bring you to this screen:

Select the Settings tab in the header of that screen. You will be navigated to a page where Here, you can click the View Credentials button to see the credentials of your PostgreSQL database.
You will need these values to input into your PgAdmin interface
Step 5: Configure PgAdmin w/ Heroku DB Credentials
Open up PgAdmin
Right-click on Servers at the very top of the left-side panel
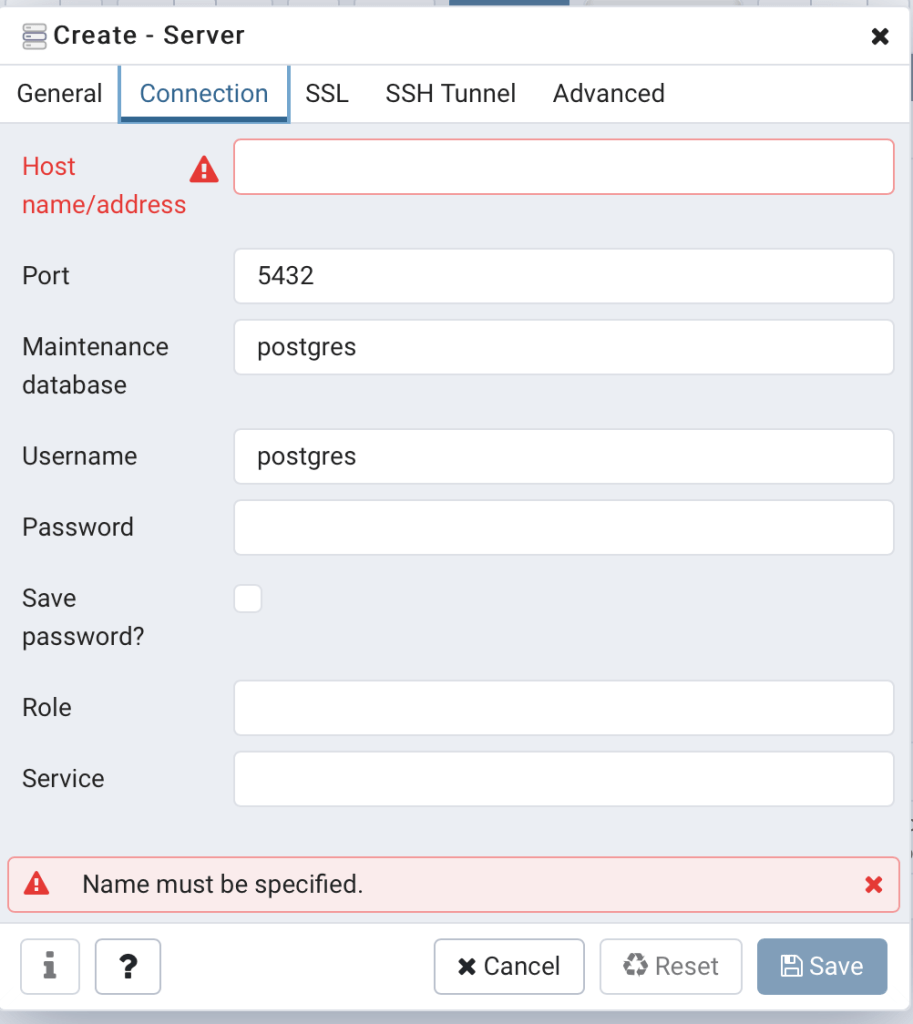
Choose Create > Serve
Fill out the new server form with all of the corresponding information from the Heroku View Credentials page.
After you save the new server, it will become populated with a huge list of databases. You will not have access to any of them except the one with your Database name from Heroku. Scroll through and find this one.
Then, as you would with any other PgAdmin database, go to Schemas > public > Create new Table. Populate this table with the fields you want.
You’re all set.