MetaMask is a free-to-use browser extension and smartphone app that allows you to interact with the Ethereum blockchain. On MetaMask, you can send and receive coins from your cryptocurrency wallet and use any of the massive array of decentralized apps built on the Ethereum blockchain.
Download MetaMask
First, navigate to the MetaMask website.
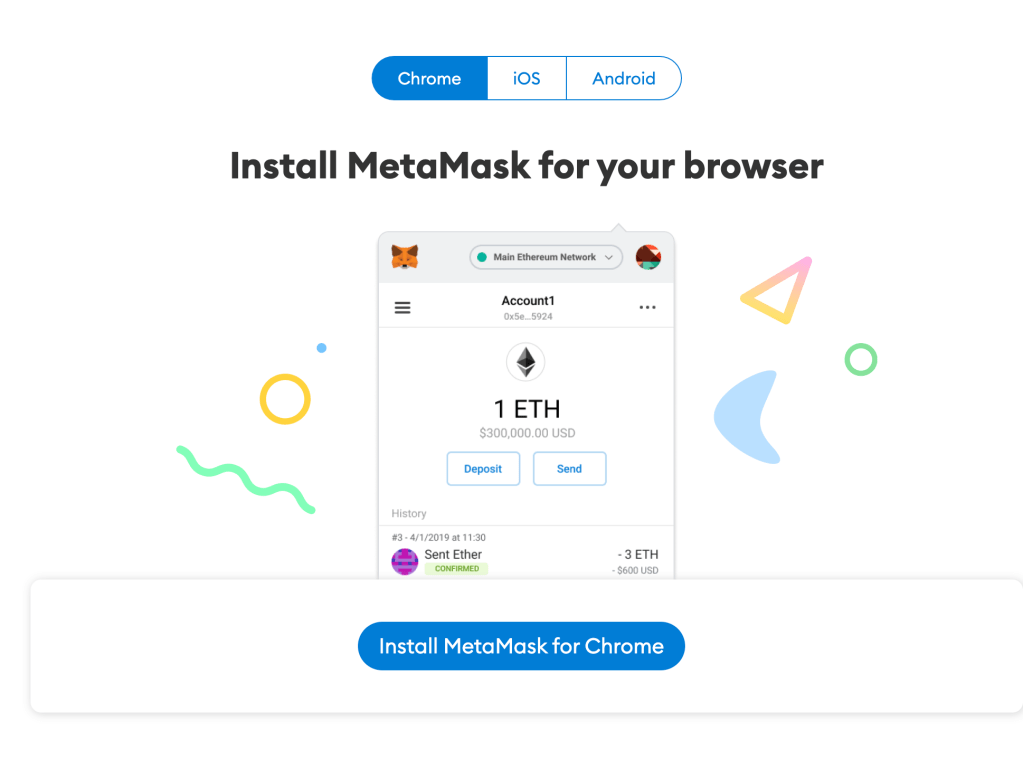
I’m installing on Google Chrome, so I’ll click the “Install MetaMask for Chrome.” If you’re installing for iOS or Android, click the designated button.
Then click “Add to Chrome.“
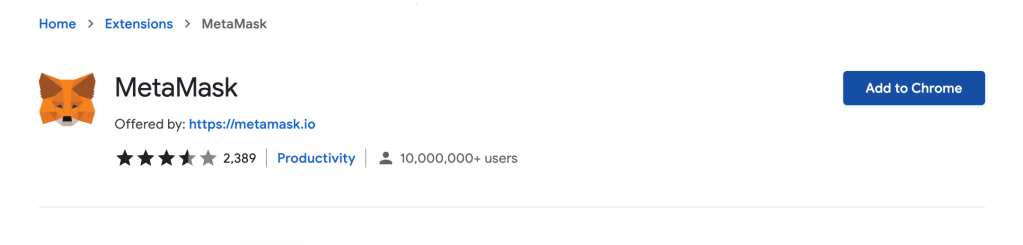
MetaMask can be used on Chrome, FireFox, Brave and Edge browsers. Sorry, Safari users but there is no support for Safari as yet.
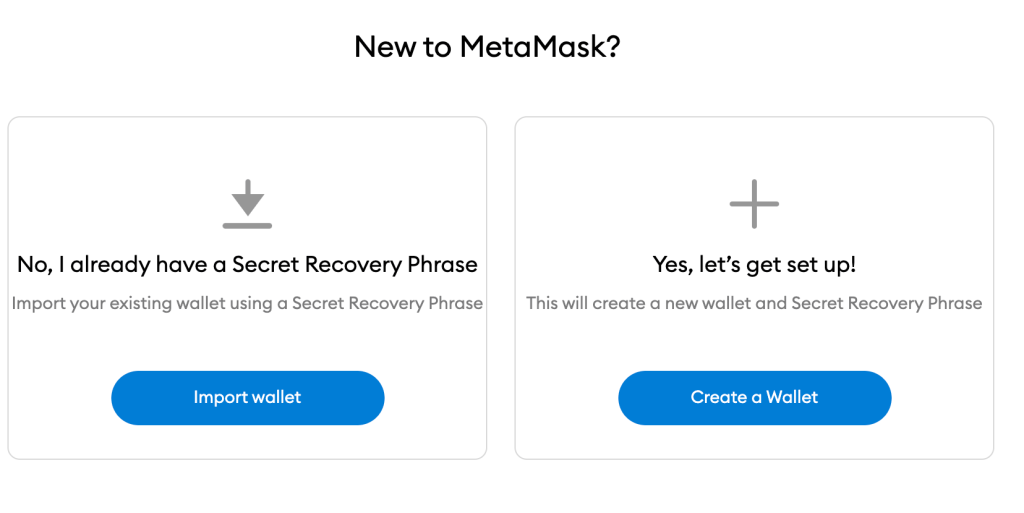
Then, you’ll be navigated to a page where you’ll set up your MetaMask account. If you don’t already have a wallet, click “Create a Wallet.“
It will ask you to create a password. Then, it will give you your Secret Recovery Phrase. Your Secret Recovery Phrase is a 12-word phrase that is the “master key” to your wallet and your funds.
It is very, very, very important and it’s crucial that you don’t lose or share the phrase. If you forget it, there is absolutely nothing that MetaMask can do to recover your account and thus your funds.
Never, ever share your Secret Recovery Phrase, not even with MetaMask. If someone asks for your recovery phrase they are likely trying to scam you and steal your wallet funds.
MetaMask Settings
On the home screen of your account, if you click the three dots in the right corner, the following window should pop up:
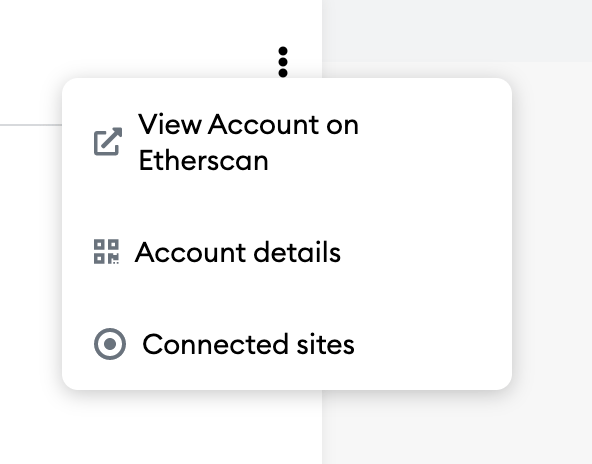
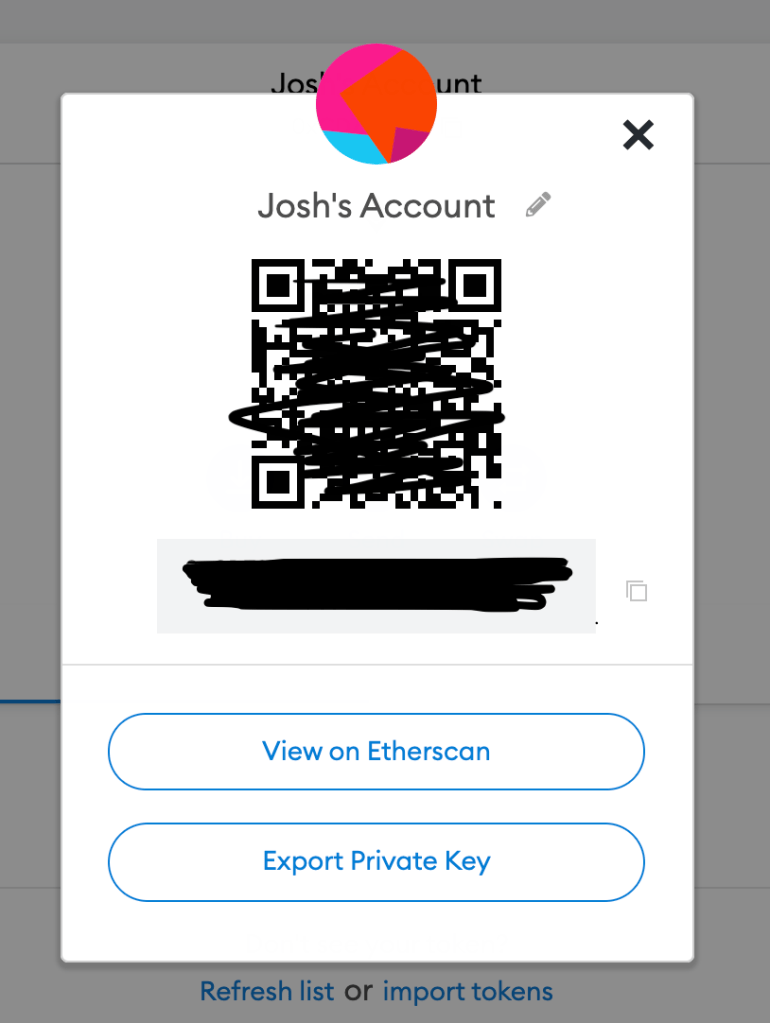
In this window, you can update the name of your account to be something more personal than “Account 1.” You can also see the address that represents your account, which is the long string of characters. People can use this address, which is specifically only to you, to send you money.
You can create more than one account and each account will have its own account address.
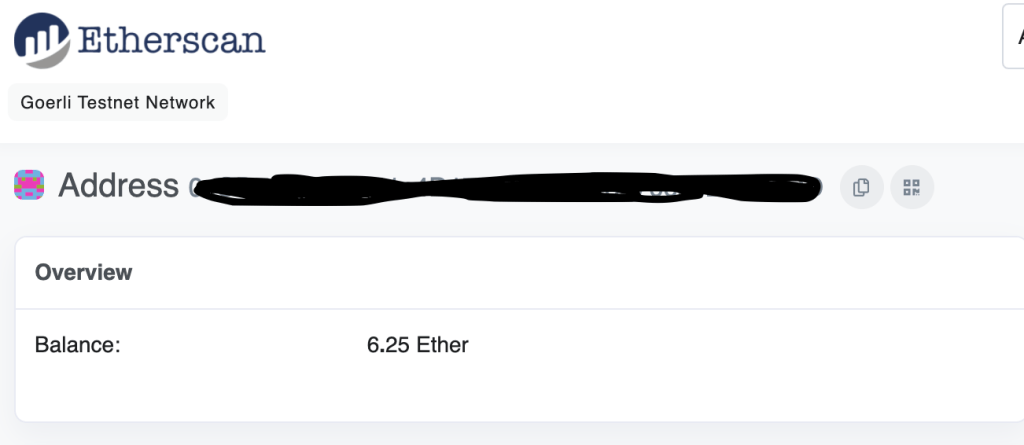
You can use a tool called Etherscan to see some of the details of a MetaMask account. Etherscan is a platform that has the details of every transaction and account on the Ethereum blockchain (obviously, this does not include private information about accounts and transactions). Platforms such as Etherscan are possible because of the complete transparency and public nature of blockchain. Anyone has access to the records of any transaction on the blockchain. If you plug an account address into Etherscan, it will show you information such as the balance of the account.
Test networks
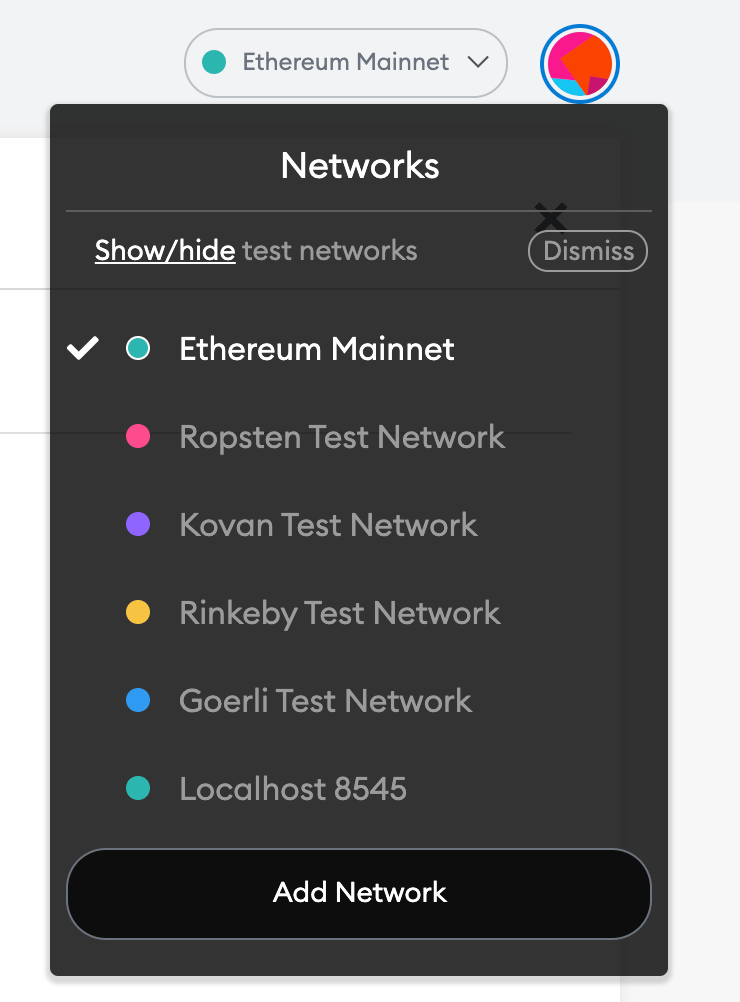
When you are making real transactions and working on the actual Ethereum blockchain, you would use the Ethereum Mainnet, which should be the default network that you are on (you can check in the top right corner of your main account screen).
If you’re a developer and you want to test out code on a fake blockchain, you’ll want to use a test network. You can turn the “Show test networks” setting on in your Settings to have access to test networks.
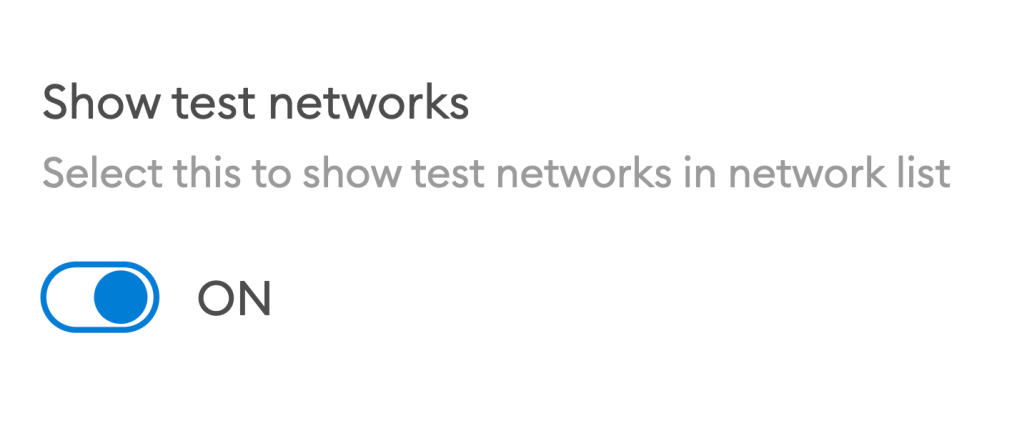
Test networks are networks that resemble Ethereum and act in the same way that Ethereum does but don’t use real money and are just for testing your applications.
How to Get Free (Fake) Ether
I will show you how to get free fake Ether on a test network for testing and learning purposes.
First, choose a test network. For this tutorial, I’ll be using the Rinkeby Test Network. Then, I navigate to the the Rinkeby Authenticated Faucet, which is a platform that provides the fake crypto. Here is the link. The website should look something like this:
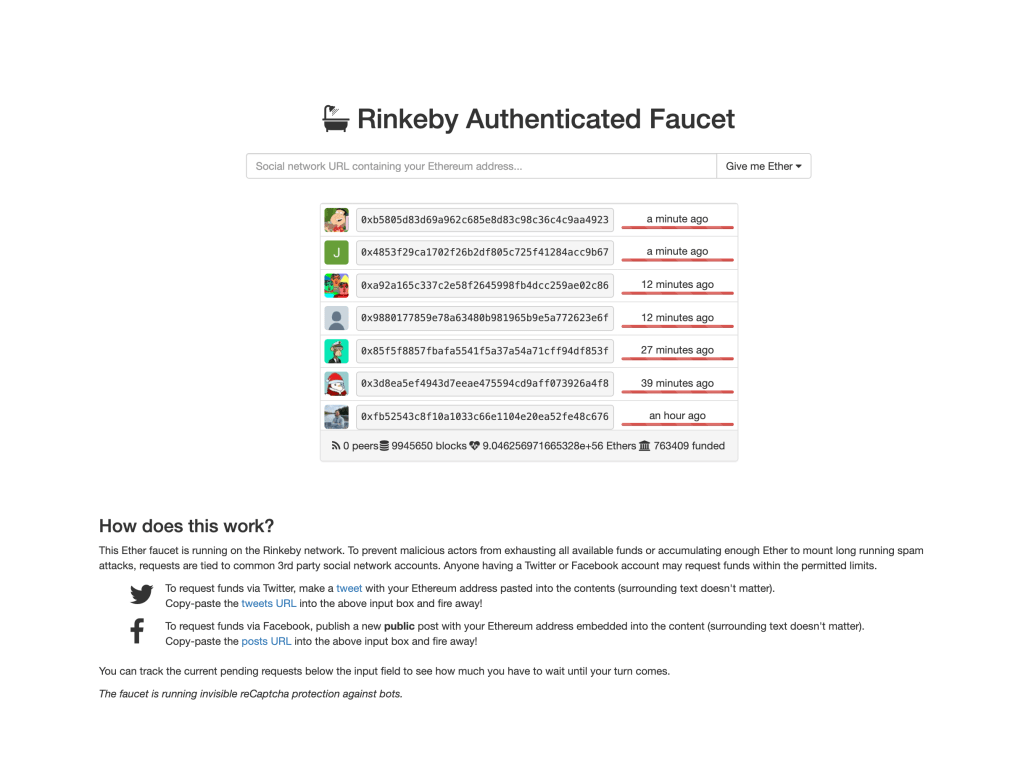
Then, you need to make a post on social media including your public MetaMask account address.
I’m using Twitter. If you’re using Twitter, your tweet might look like this with the blacked-out portion being your public address (there isn’t really a reason for me to black it out on this post, but I just did it anyway).

Then, copy the link to the post you just made and paste it into the Faucet:

If the transaction is accepted, a green message should pop up saying that the transfer is accepted and it will go through.
Note: The networks are not always up and working. If the transaction is unsuccessful, try doing the same process on another test network.
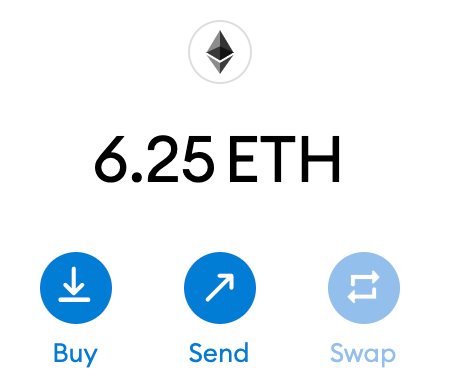
If it was successful, you should soon see some Ether in your test network account:
If you go to the Rinkeby Etherscan (or the Etherscan for whichever test network you used) and search your MetaMask account address, you should now see that the balance has been updated and the transaction details are publicly available.