The default path to MySQL on Mac is /usr/local/mysql/bin.
If you type mysql --version, you may get an error saying “command not found.” This is because you don’t have the MySQL command in your path.
To solve this, you can do one of two things:
# This will add MySQL to your current session (will be lost when you close Terminal)
export PATH=${PATH}:/usr/local/mysql/bin
# Permanantly
echo 'export PATH="/usr/local/mysql/bin:$PATH"' >> ~/.bash_profile
Copy and paste whichever command you prefer into Terminal. Close & reopen your Terminal window after you run the command.
Now, if you type mysql --verison, it should show you your version of MySQL.
Log in and use MySQL in the Terminal using this command: mysql -u root -p. It will ask for your password; make sure you use your MySQL password, not your system password
Ctrl + L to clear the prompt
Show users:
SELECT User, Host FROM mysql.user;
Create user: When you create a new database for a new application, you will probably want to have a specific user for that database rather than using the root user
CREATE USER 'someuser'@'localhost' IDENTIFIED BY 'somepassword';
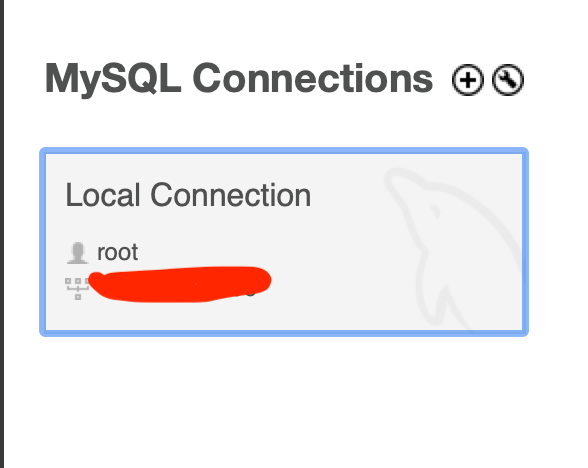
Problem: Whenever I click on my Local Connection to get access to my MySQL Database, Workbench attempts to open it then freezes.
Solution: It’s not ideal, but I have to delete the Local Instance and create a new one. It works for me after that.
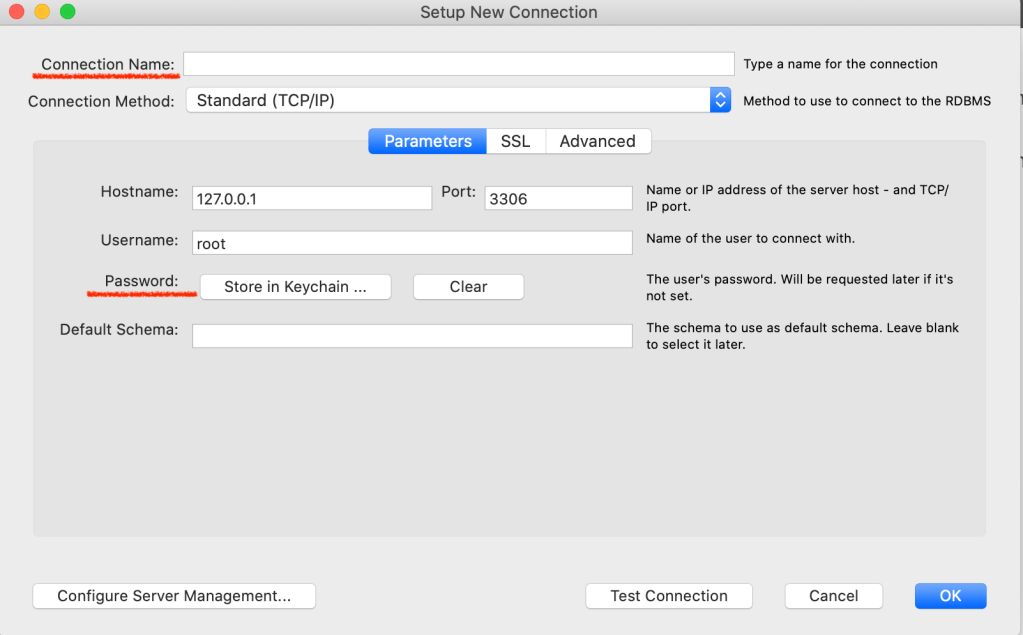
Right-click on the Local Instance and select “Delete Connection.” Then Press the “+” button next to “MySQL Connections.”
Fill in the Connection Name (any name you want) and Password (the password we created earlier during the MySQL installation). Then, test the connection using the Test Connection button at the bottom. If the connection is successful, press OK.
This tutorial assumes you have Node.js, MySQL, and MySQL Workbench installed
Create a new Node application
Create the package.json and install the necessary dependencies
cd project-folder
npm init
npm i express express-handlebars mysql
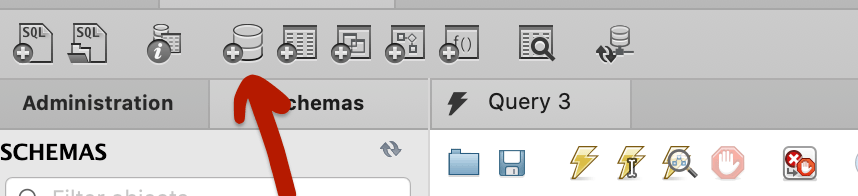
2. Create a new MySQL Database
Create a new Schema. I will call mine Practice
3. Set up your server file
Quickly set up your server file and initiate your MySQL Connection in order to make sure the connection is running successfully before we go any further.
In the server file, import the MySQL connection from the connection.js file:
const mysqlConnection = require("./connection");
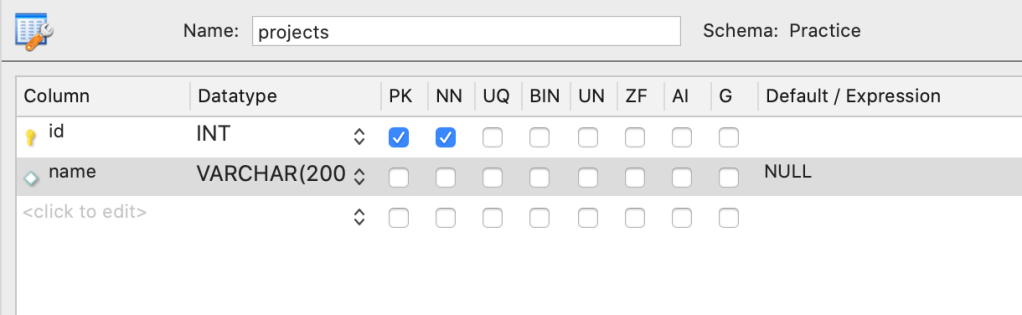
5. Create a table in the database
I’m going to open up my Practice Schema and find the Tables. Then, I’m going to right-click on Tables and create a new Table by clicking “Create Table.” Give your table a name and whatever properties you would like. Then, press Apply.
My projects table have properties of id and name
6. Create a route and query the database
In my server file, I’m going to handle GET requests to the root route. When a user requests the root route, I will query the MySQL database for all of the items in our projects table and send back the items in the response.